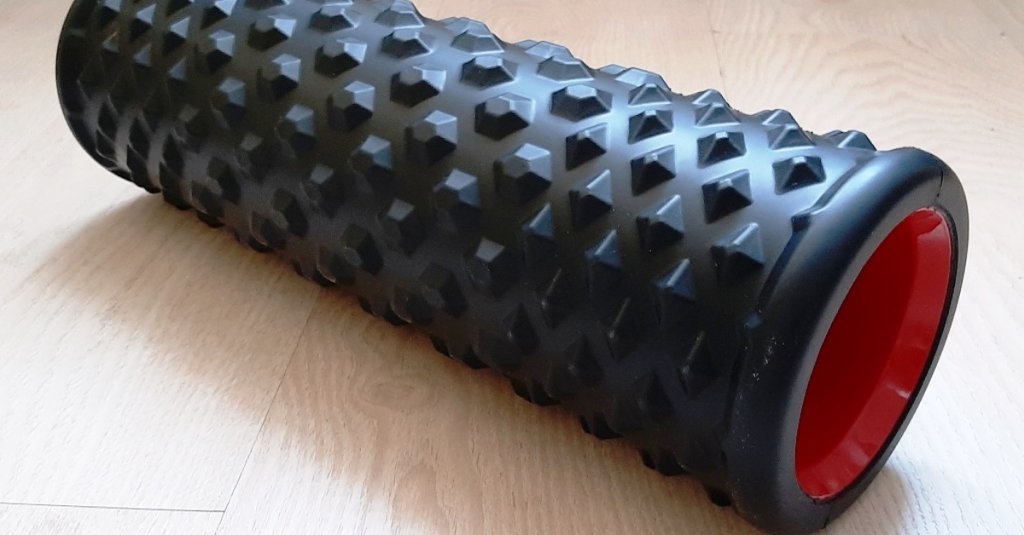
You stretch, you warm-up, you ice, you even take Epsom-salt baths (OK, just that one time). But if you really want to take care of your sore muscles, in addition to all that you should learn about the benefits of foam rolling. The foam roller is a small device that can provide relief from existing muscle soreness when you get in the habit of using it to put pressure on your muscles. There’s no better way to help prevent future pain after, say, a particularly serious kettlebell workout.
Foam rolling is what exercise experts refer to as “self-myofascial release,” a fancy way of saying that you use your own body weight to apply pressure to muscle tissues (fascia), thereby releasing tension. The benefits of foam rolling are twofold: First, it helps muscles relax so there is less tension on tendons and bones in your body. Second, it increases your mobility and range of motion, thereby lowering your risk of straining a muscle when you do something like lunge for a soccer ball or your son’s runaway tricycle.
Designed to imitate the experience of getting a massage, the foam roller has been shown to decrease the dreaded delayed onset muscle soreness (DOMS) that occurs after a hard workout. But to reap the benefits, you have to know which moves to do — and how to do them right.
Start with the 7 moves here. In each case, use light to medium pressure (contrary to popular opinion harder is not better and can damage muscle tissue). Do each exercise for 90 seconds and be careful to place the roller under muscle, not bone or joints, for safety.
1. Back roll
Start by placing the foam roller on the ground, then lying on top of it (center it so that one end protrudes from either side of your back). Place it in the middle area of your back. Bend your knees and keep your feet flat on the floor. Push through your feet and slowly straighten your legs, allow your lower back to drifting over the top of the roller until it reaches your hips. Bend knees and roll back in the other direction until the roller reaches just below your shoulders. If the pressure is too intense, prop yourself up on your elbows to relieve some of the weight.

(Julia Hembree Smith)
2. Glutes roll
This move helps loosen tight butt muscles, which can pull on already-tight hamstrings, leading to injury. Start on the floor, resting your right butt cheek on the roller. Bend knees and keep feet planted on the floor (you will have to twist them to the right side). Using your right hand or elbow for support, rock back and forth slowly on your right side, adjusting the angle of your hips from straight to sideways to bring the roller in contact with the entire glute surface. Switch to the left side and repeat.
3. Calf relaxer
Sit on the floor, legs out in front. Rest your right lower leg on the inside edge of the foam roller so that the end clears contact with your left leg. Bend your left knee, and place hands out the sides and slightly behind your butt. Press through the floor with hands and your left foot to elevate your body so that it is hovering over the floor. Bend and straighten your left leg, allowing the roller to move up and down your right calf. Adjust the pressure by shifting more or less weight from your hands to your calf. Go straight back and forth for 10 rolls, then angle your leg inward so that the roller massages your inner calf. Open your hips outward and repeat so that it works on the outside of your calf. Repeat on the opposite side.
4. Hamstring relaxer
Following the instructions from the calf roll, sit with the inside edge of the foam roller under your right hamstring (upper leg). Bend left knee and place hands out to the side and slightly behind your butt. Raise your body and gently rock so that the foam roller rotates beneath your right hamstring. Use more or less weight on your hands depending on how deep you prefer the pressure. Switch sides and repeat.

Two women use foam rollers to massage their leg muscles after a running event.
5. Quad massager
Lie on your stomach with your right leg straight and left leg bent and out to the side. Situate the roller so that it is beneath your right thigh. Propping yourself up on your elbows and using your left foot for leverage, raise your body from the floor and rock forward and back, applying pressure to the roller as it massages your quad muscle.
5. Foot roll
Lay the roller flat on the floor near a wall. Facing the wall, stand on the roller in bare feet, placing hands against the wall for support. Depending on your arch flexibility and foot sensitivity, this position alone may be enough to feel a release in your arch and foot muscles. For a deeper massage, slowly and roll back onto your heels, then forward onto your toes, maintaining control of the roller (the movement will be quite small).
7. Side stretch
Lie on the right side, resting the roller beneath your armpit. Stretch your right arm out above your head, and place your bent left arm on the floor in front of you for support. Using your feet to push your body forward, allow your torso to slowly roll over the foam roller until it reaches the bottom of your rib cage. Slowly roll back in the other direction. Switch sides and repeat.
This article originally appeared on Fatherly. Follow @FatherlyHQ on Twitter.


